Linux 6 on Orange Pi 5

In my previous post, I walked through installing Armbian on an Orange Pi 5. Now it is time to upgrade Linux from 5.10.160 to 6.1.43. I could lie and tell you that I needed Linux 6.1 for btrfs performance improvements or because I was excited about experimental Rust support in the kernel (which I am!) but in my nerd heart, I know I don't have a justifiable need to upgrade. With that out of the way… let's upgrade!
1) Install Docker.
apt update && apt install -y docker.io2) Create an ephemeral container where all the work can be done so I don't muck around with my pristine, beautiful host OS. I'm only using a container to keep my host OS clean, so I'm playing fast and loose with privileges. The container itself is privileged, and because what I'm about to do uses loop devices, I am bind mounting /dev into the container so it has access to /dev/loop*. The loop kernel module isn't namespaced, so there isn't really a better option when dealing with containers. Finally, I'm mounting a build directory inside the container so that when it dissolves into the ether, I can access all the files it generated:
docker run --rm -it --privileged -v /dev:/dev -v `pwd`/build:/root/build debian:123) Now that I'm in the container, I need to install Git, checkout the Armbian build repo into the mounted build directory and cd into it:
apt update && apt install -y git
git clone https://github.com/armbian/build.git /root/build
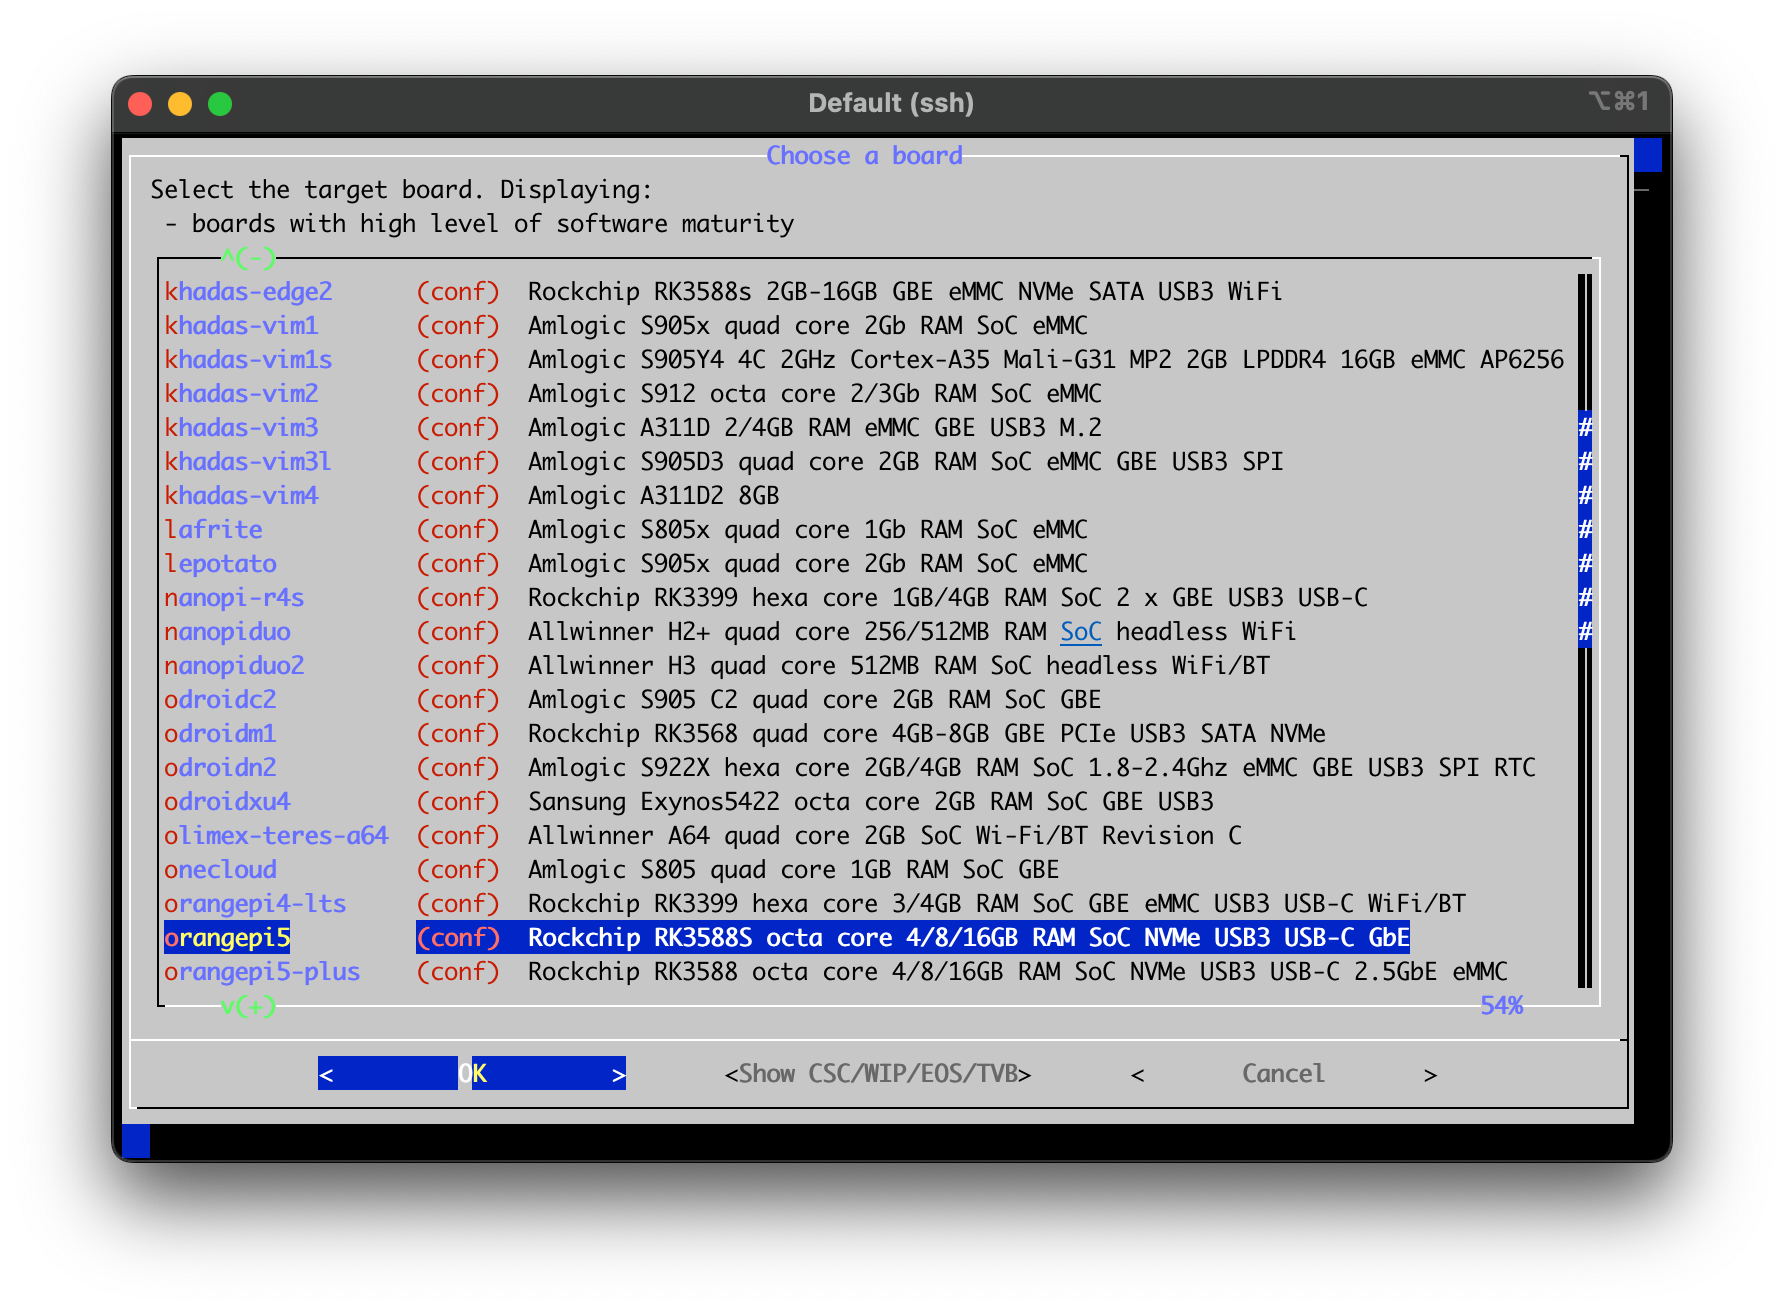
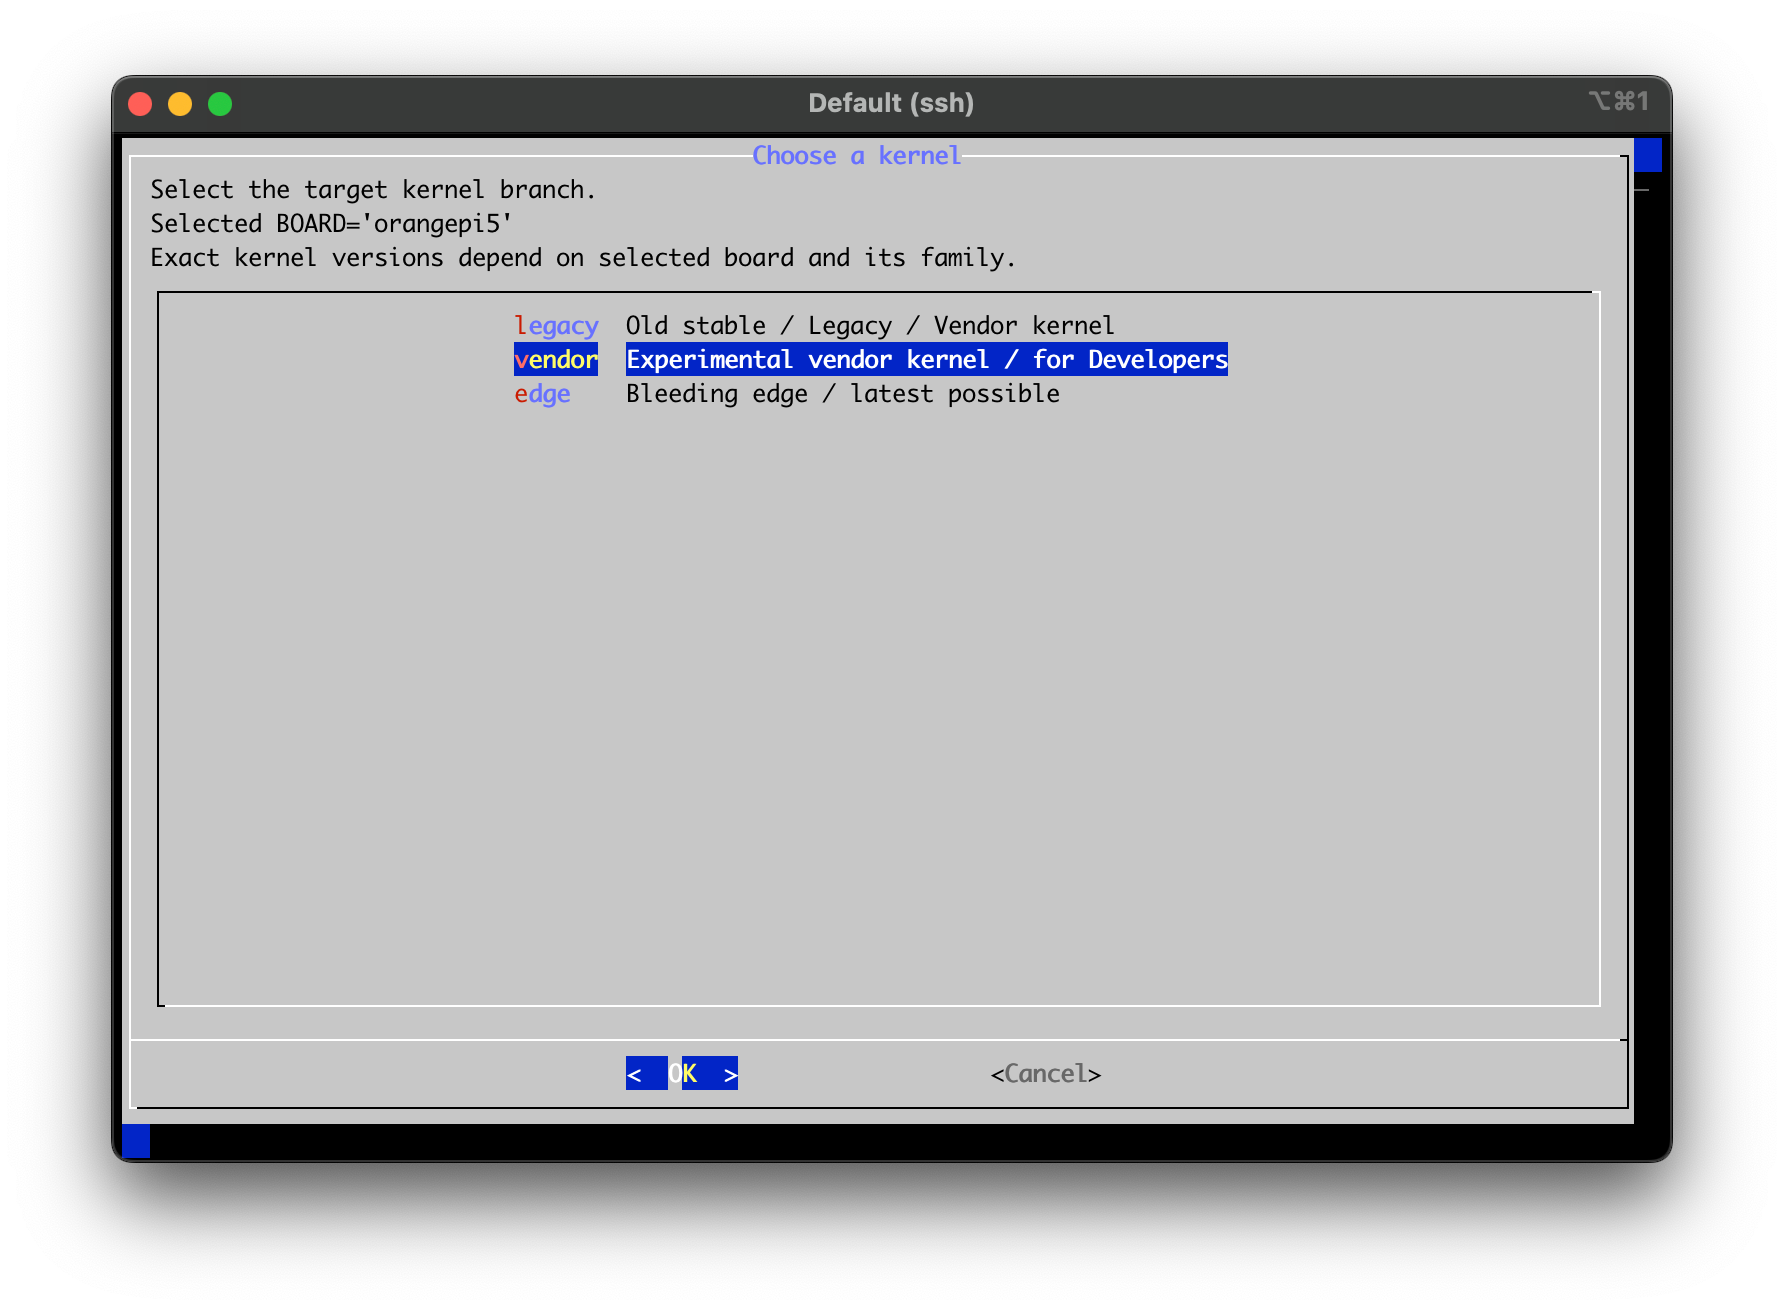
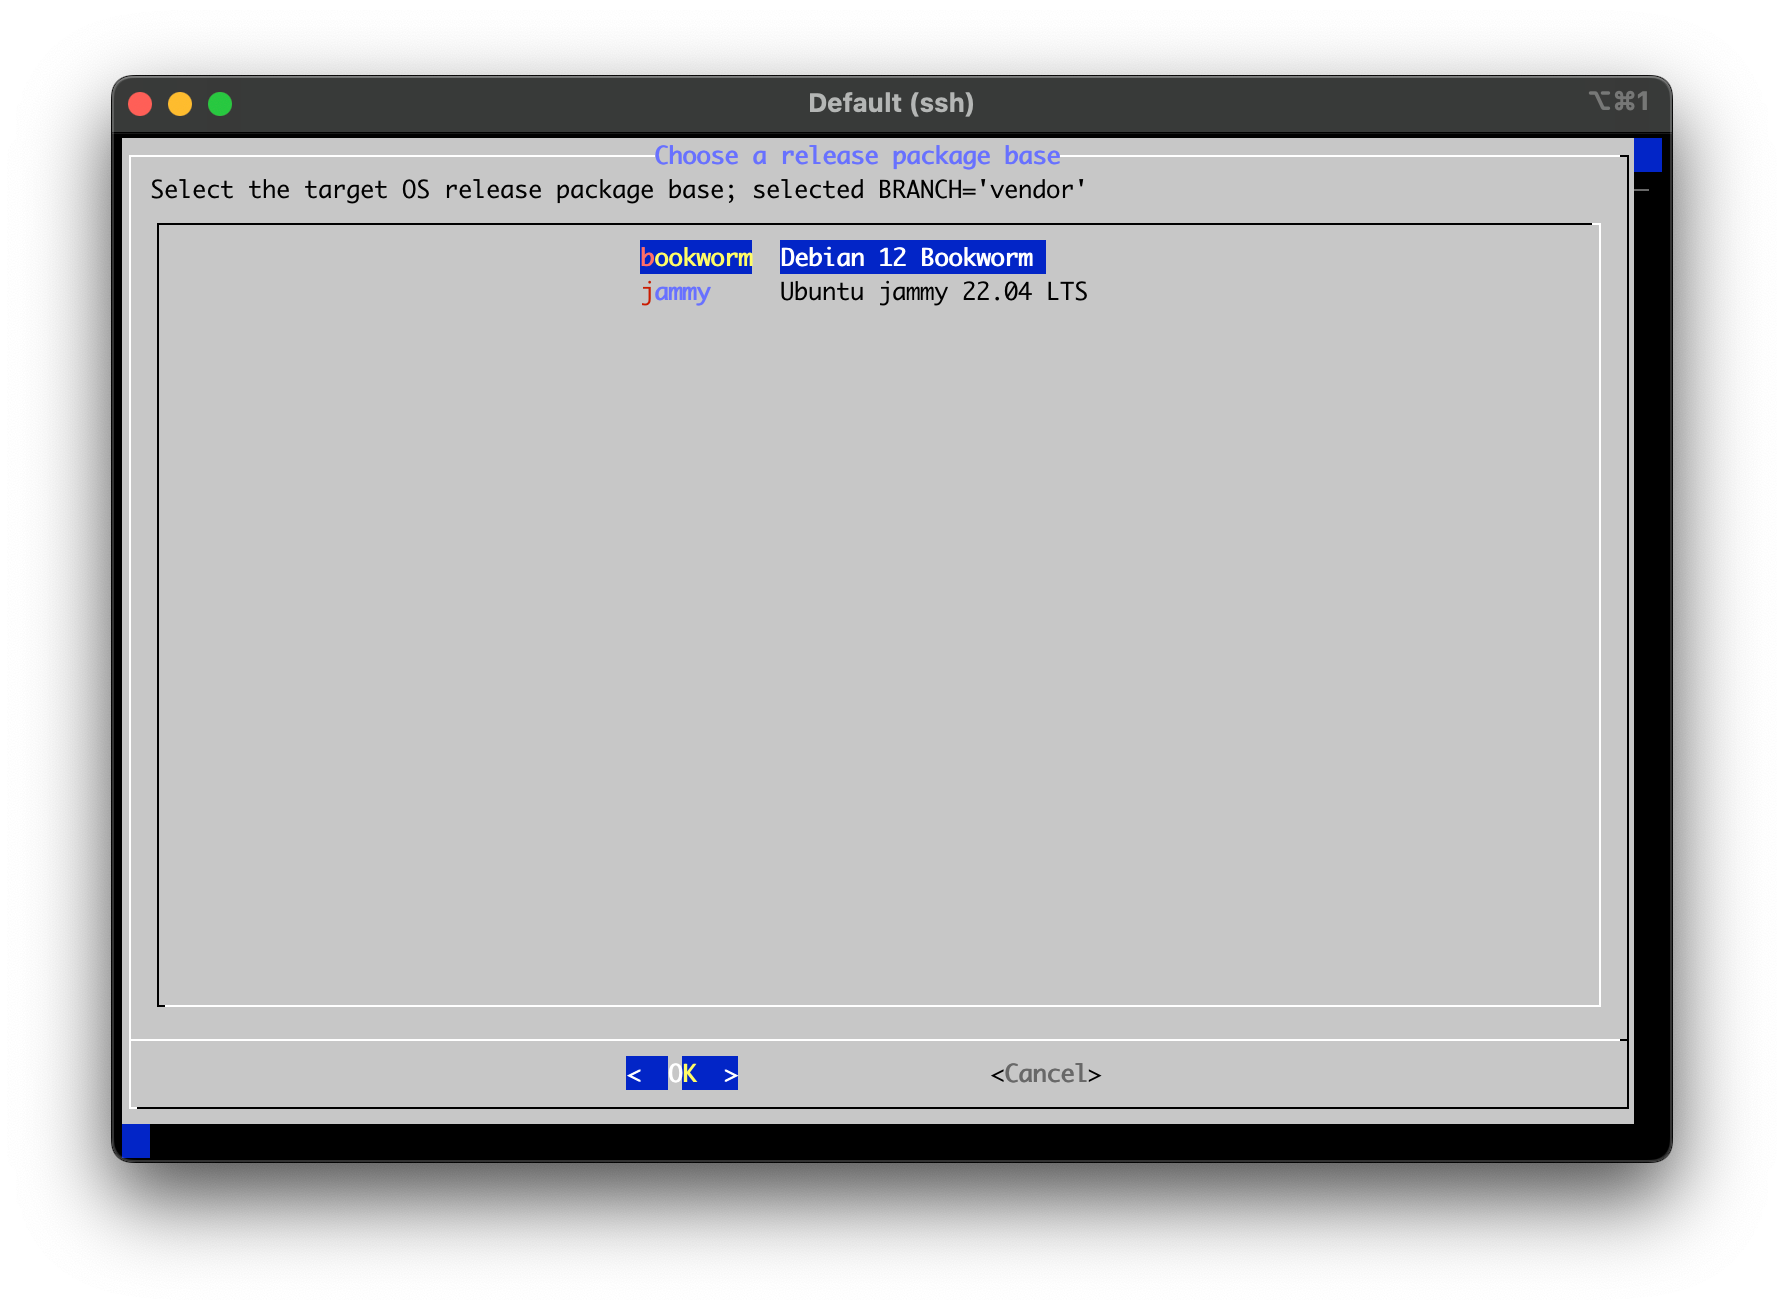
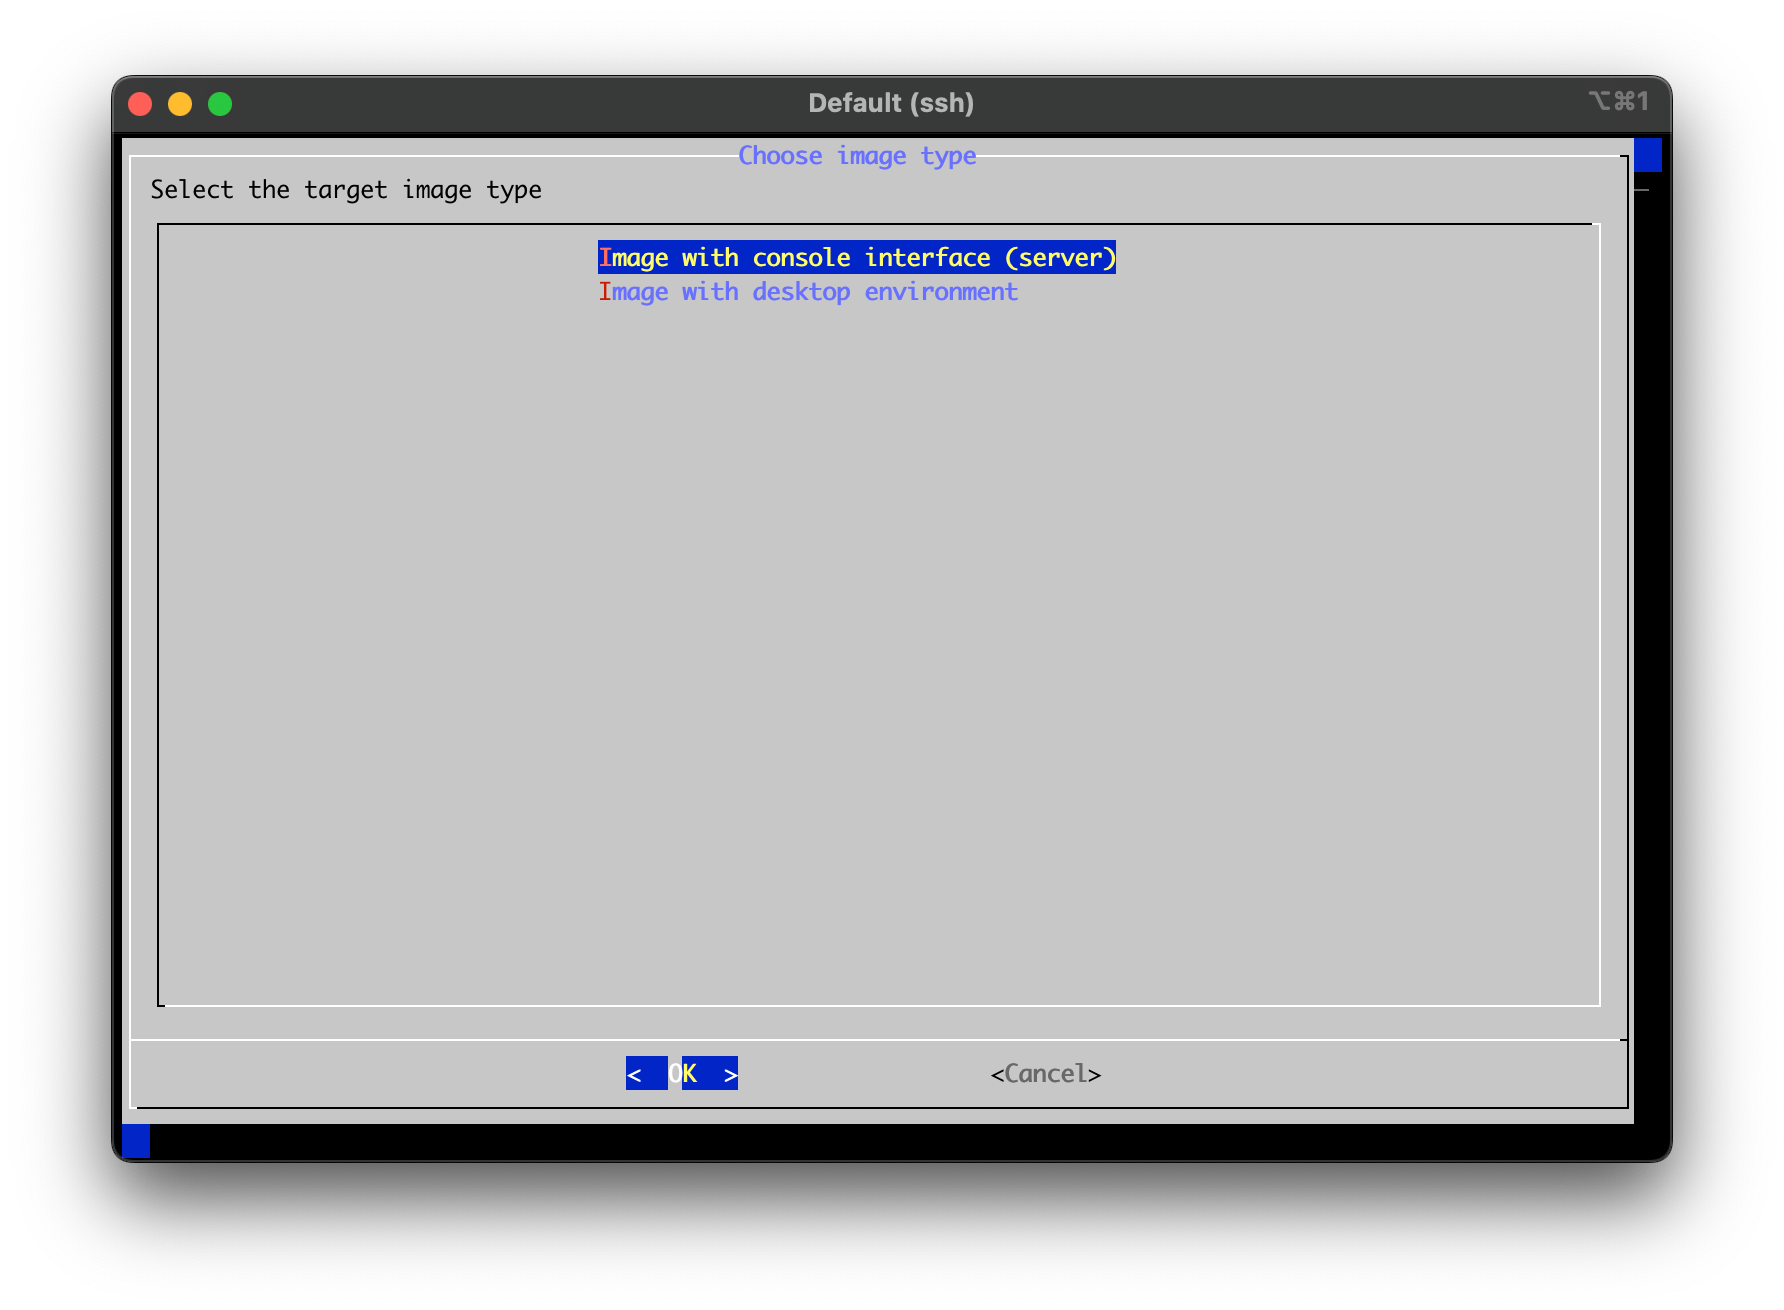
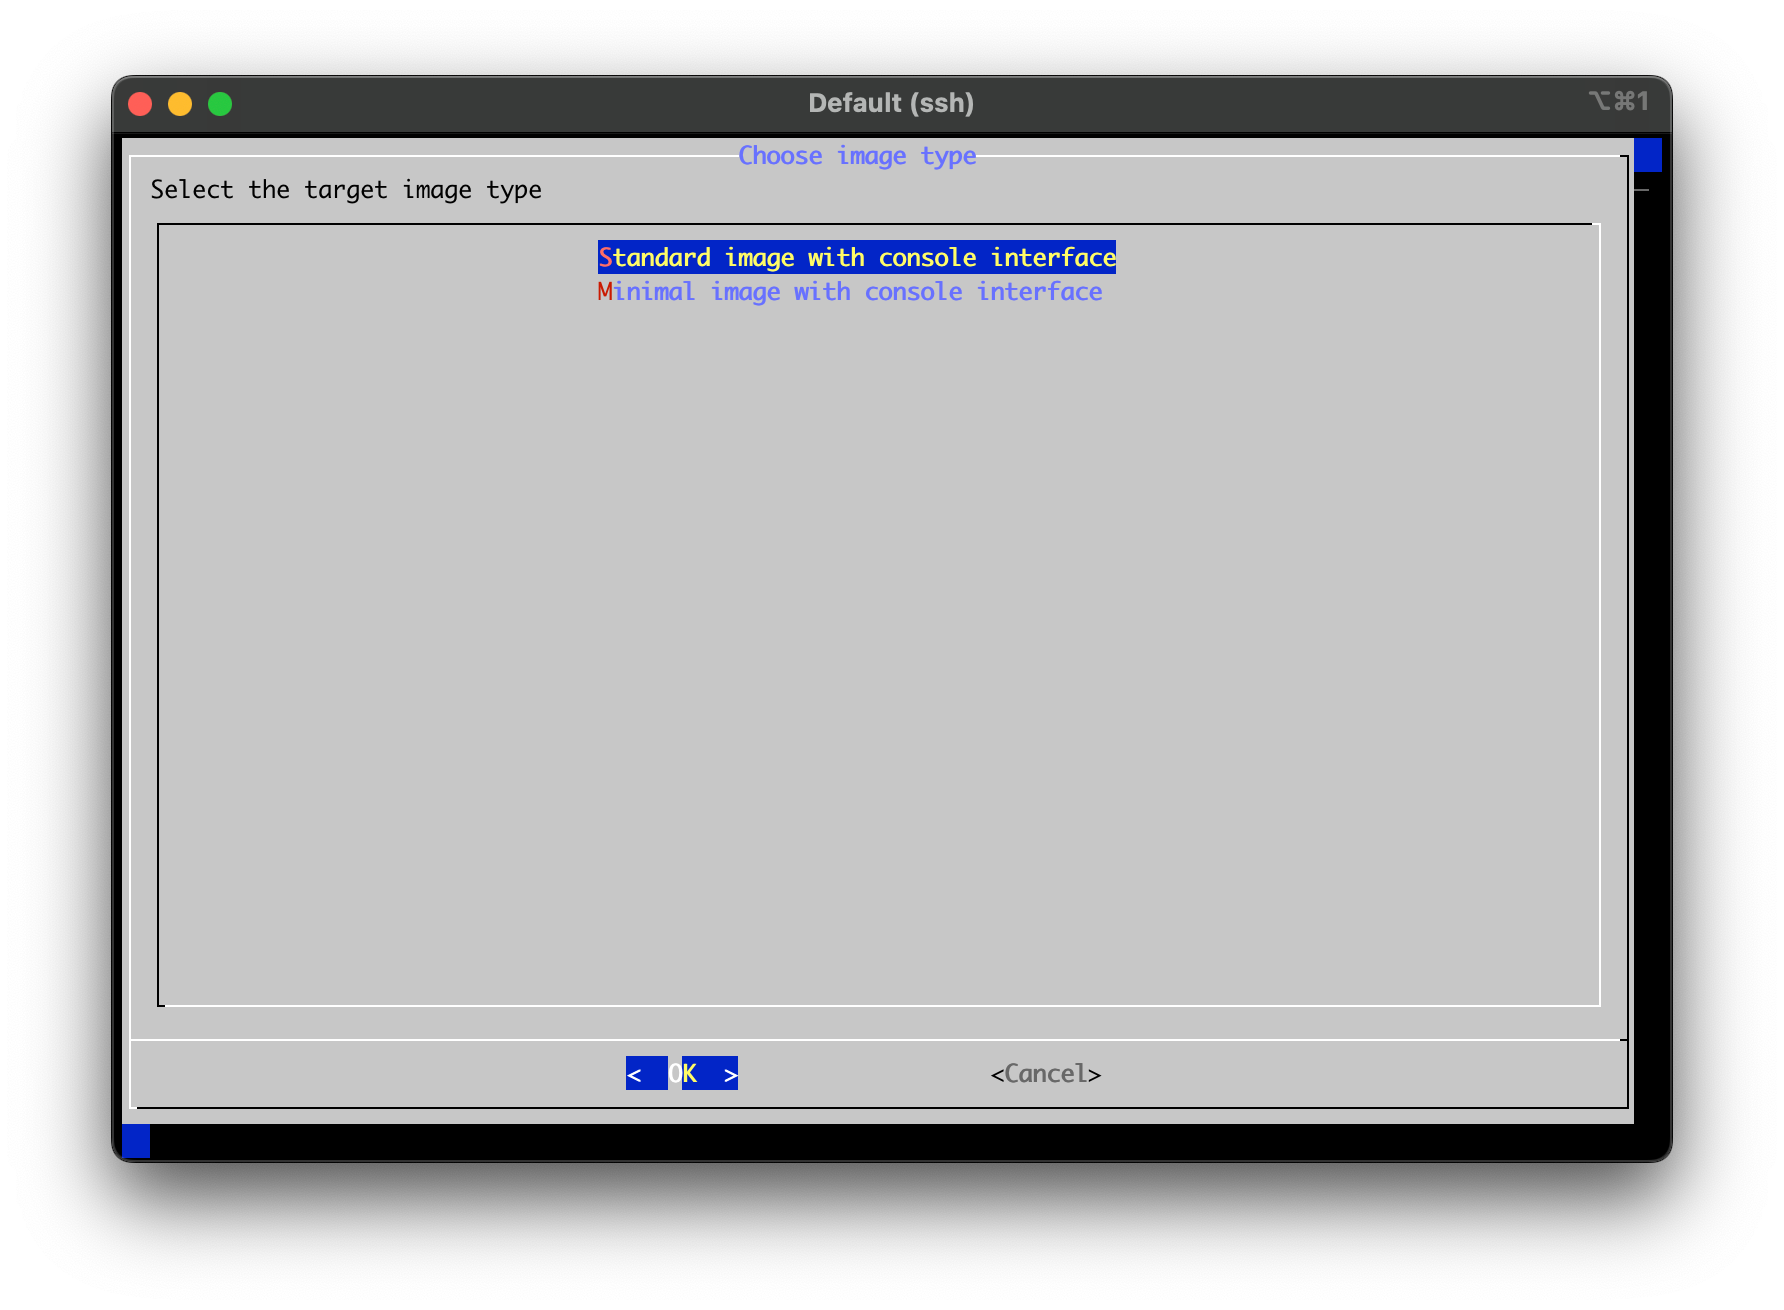
cd /root/build4) Armbian will do all the work for me of building the new kernel and packages to install, so I can just sit back and answer a few simple questions. If I wanted to change how the kernel is configured in the future, I can pretty much do the same thing and select "Show a kernel configuration menu before compilation" on the first screen. Either way, I now get to claim to be an elite hacker who builds my own kernel. The process will take a few minutes.
./compile.sh BOARD=orangepi5 BRANCH=vendor RELEASE=jammy BUILD_MINIMAL=yes BUILD_DESKTOP=no KERNEL_CONFIGURE=no./compile.sh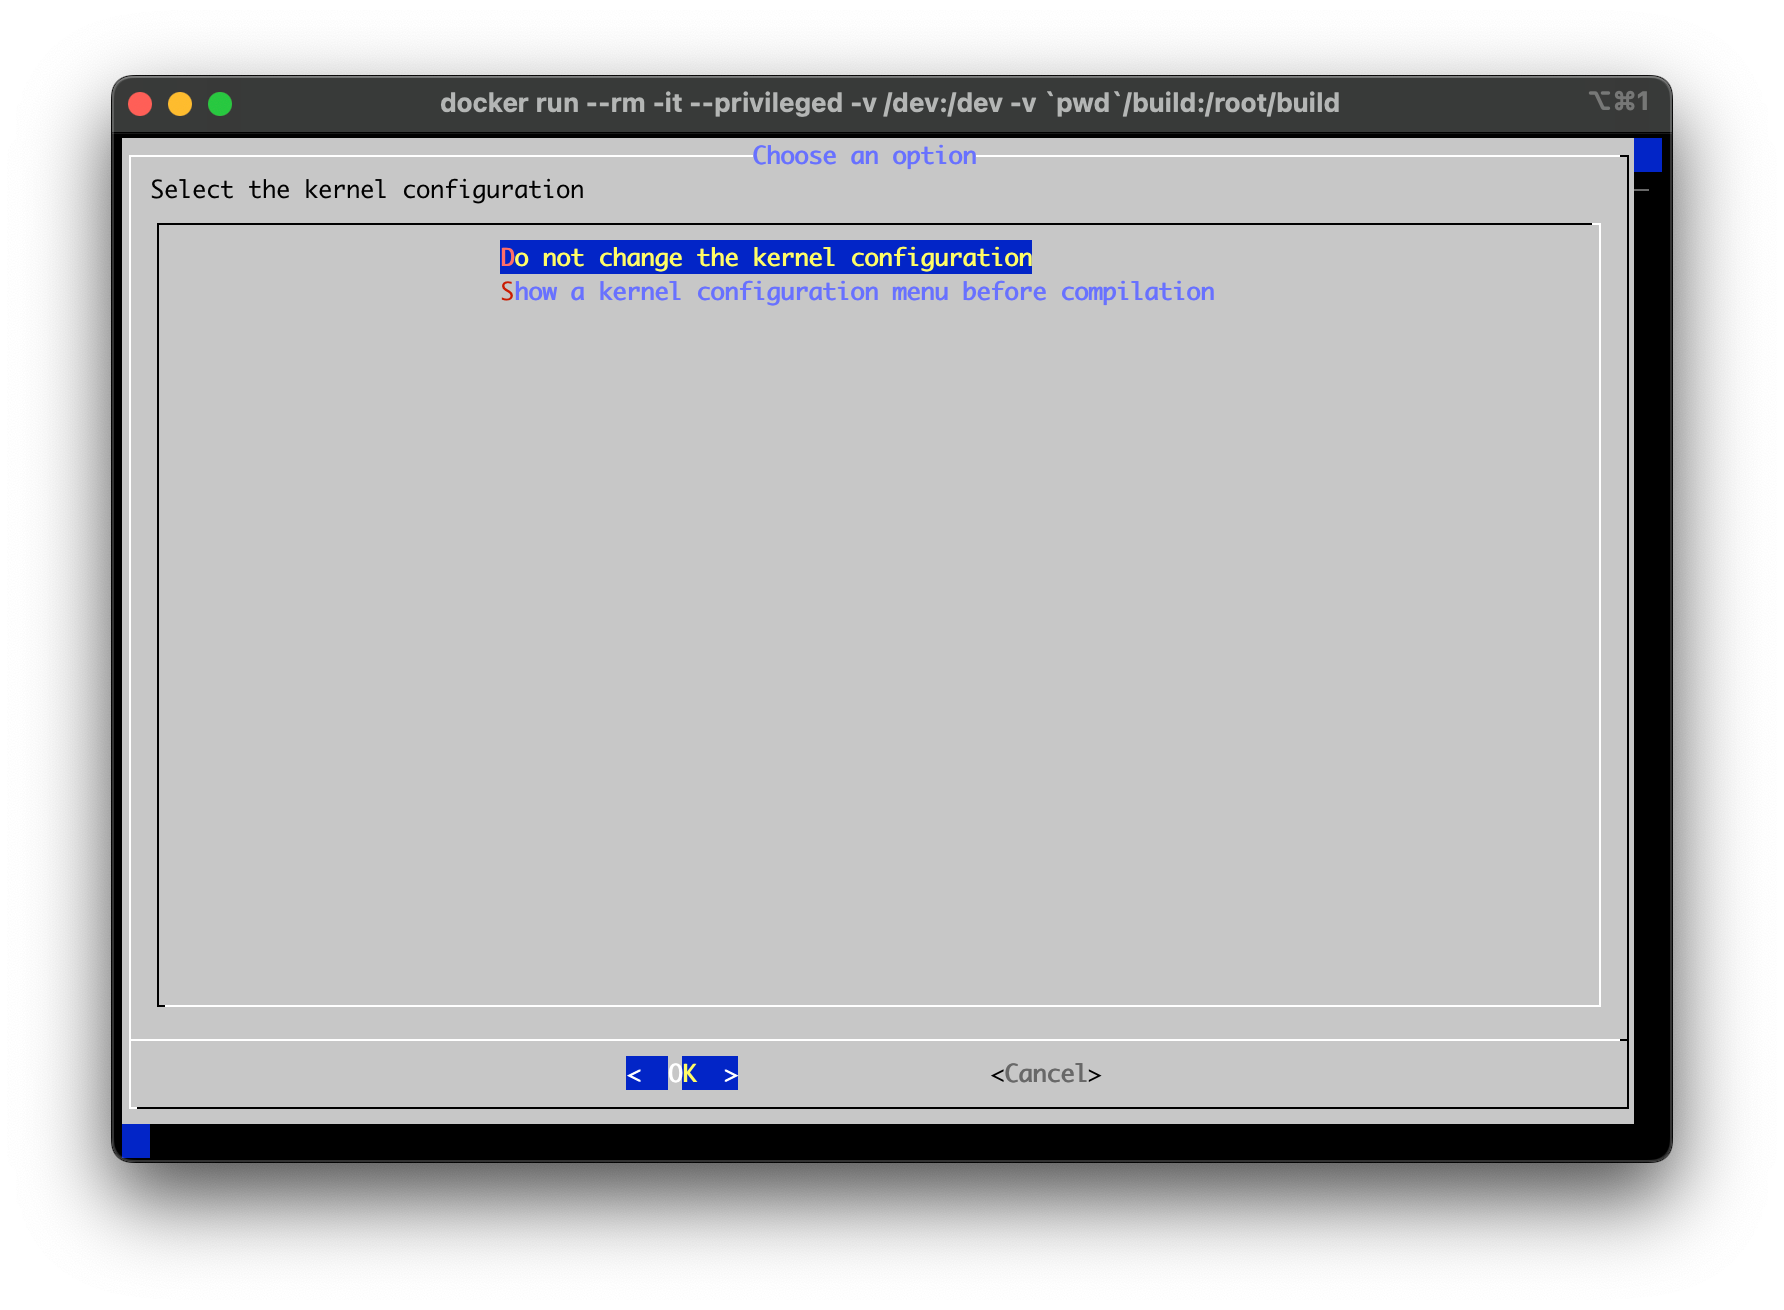
5) Exit the container because we don't need it anymore. Everything is built, and the host OS remains unsullied by anything other than Docker:
exit6) Option 1: Install the fruits of my labor on the host OS from that ingenious build directory I bind mounted into my container because I have magical foresight and wisdom beyond my years.
cd build/output/debs
apt install -y \
    ./linux-dtb-vendor*.deb \
    ./linux-headers-vendor*.deb \
    ./linux-image-vendor*.deb \
    ./linux-libc-dev-vendor*.deb \
    ./linux-u-boot-orangepi5-vendor*.deb
Option 2: Just like you originally did when you flashed an .img to an SD card to boot the Orange Pi 5 the first time, you can look in build/output/images to get an .img of what you just built. You can use dd or to write create it to a new disk so you have a fresh install. Just be sure to make sure to do whatever boot gymnastics necessary so you're not trying to read the .img file from the same drive you're trying to overwrite.
7) Reboot and check the Kernel version to make sure it all worked.
rebootuname -r
# 6.1.43-vendor-rk35xx`8) Celebrate!